Sunday, August 29, 2010
Rajma (OMG Indian food!)
Saturday, August 28, 2010
frittata experiment
In the AM I was motivated about work, but then lost that motivation. On my way out the door, my landlady was moving out and had several boxes of old LPs and offered to let me search through them and take any I wanted. SCORE! She had amazing stuff, and I even made her keep the original MJ Thriller and Beatles records, you can't toss that stuff. Definitely a mood booster. ...Then I got to lab. BOOORRING plus stupid people. My friend mentioned wanting to go shopping, which I've had in my mind for a while now but I don't like shopping by myself. So post boring crappy stupid-people labness on a saturday, this was the rest of my day: shopping. home. dinner. wine. old movie. AWESOMENESS.
So lets talk about dinner. First of all, the important stuff:
Wine accompaniment: Chardonnay Steel American Table Wine by Gouveia Vineyards
local winery in Wallingford, CT, SUPER CUTE, had a lovely picnic there a few weeks back.
Movie accompaniment: Noble House, starring Pierce Brosnan
Based on the book by James Clavell anything by him is AMAZZZZINGGG. I've read everything except Whirlwind. Best book: Shogun, first-book recommendation: Taipan.
Okay, so now for dinner: my experiment at spinach frittata, a la the following basic recipe: Spinach Frittata Simply Recipes
I love both this website (simply recipes) and Smitten Kitchen for most of my starter recipes.
Basically I approached this as "what veggies do I have?" + eggs/cheese.
I had spinach (obviously), mushrooms, and tomatoes (you choose if its a veggie/fruit), also the requisite onion and garlic. I love both onion and garlic, by the way. This has been a total discovery in this past year,but they are SO DELICIOUS. o.m.g.
The rest was eggs, milk, I used gouda cheese and since i didn't have a grater, I cut it into small pieces and melted it for 30 seconds in the microwave.
So I think the three-way prep that the recipe mentions is important. Separetly, prep:
#1: cook spinach in 1/4 cup water until its
#2: (for me melt the cheese cubes and then..) mix cheese, eggs, and milk, and add salt and pepper to taste. set aside.
#3: In a baking pan (I don't have a skillet that is oven-safe) I sauted the onions, then added the garlic for one minute, then the mushrooms and wilted spinach for a few more minutes, and lastly the tomatoes for a
After your veggies are patially cooked (depending on how well done yo
Move it into the oven, preheated at 400. Let this go for 15 minutes, then take it out and let it cool. When done, the cheese/egg covering should have the same consistency as scr
Apologies for my crappy pictures due to crappy lighting in my kitchen. But still, a lovely ending:
Thursday, June 24, 2010
Almenta with Cooked Endive Salad
Almenta and Endives (serves 2-3)
3 tbsp olive oil
1 clove garlic, thinly-sliced
3-4 endives, chopped
2 c spinach
1/3 c dried cranberries
1/4 tsp salt
1 c almond meal
1/4 tsp red pepper flakes
2 c vegetable broth
1 c milk
1/2 c Parmesan cheese, grated/shredded
4 tsp pine nuts
For the almenta, start by lightly toasting your pine nuts. You'll know they're ready by the smell. Next, heat the olive oil. Add the thinly-sliced garlic, then the endive, then the spinach. Give a minute or two after adding each ingredient for the oil to draw out the flavors. Stir in the salt and the dried cranberries, then cover and simmer on low heat for about five minutes before removing from heat.
In a small saucepan, combine the almond meal and red pepper flakes over medium-high heat. Next, add the vegetable stock and milk, keeping the mixture from clumping with a whisk. Bring to a boil, then reduce the heat to low, cover, and simmer for ten minutes. It is important to note that, though a watched pot may not boil, an unwatched pot always boils over. Be vigilant. After the mix boils down to a thicker consistency, stir in the cheese. Remove from heat.
In a bowl, fill about halfway with the almenta, then spoon in as much of the endives mix as you desire. Top with pine nuts and enjoy!
Friday, May 14, 2010
If Monks Had Cafes...
Monk's Cafe Flemish Red Ale, known elsewhere in the world as Bios Vlaamse Bourgogne, comes to us from the last operating brewery in Meetjesland, Belgium, the Brouwerij Van Steenberge, brewer of such well-known ales as Gulden Draak and Augustijn.
The Flemish Red ale is a Flanders farmhouse style which originated in the 19th century, when farmers would brew beer on the side to supplement their produce and meat. The majority of the beer was drunk within the home — since most everyone brewed their own beer, there was little outside market to be exploited. Since wheat was readily available, it was a common ingredient in these ales. Herbs and spices were routinely added for extra flavor.
This particular ale itself is a beautiful, reddish-brown hue. Citrus, vanilla, and pear notes on the nose give way to a mild acid astringency. The initial flavors are reminiscent of dry cider, with apple, pear, vanilla, cinnamon, and clove, with a creamy mouthfeel. There is an acidic twang in the aftertaste, but the beer is not nearly as sour as one would expect from a Flemish farmhouse ale. It is absolutely one of the most delicious ales I've tasted, and its relatively low alcohol content make it enjoyable at any time. Pair it with a fruity dessert like fruit tarts, fruit cheesecakes, and puddings, or with summer salads with oranges or strawberries.
Monday, April 19, 2010
Banana Bread
Abstract:
Prep:
Preheat oven to 325°F. Grease a 13x9” baking dish or two loaf pans.
Materials:
Methods:
- Blend wet ingredients (do not blend to death)
- Combine dry ingredients in a big bowl
- Pour wet into the dry ingredients and mix with your hands. note: I hope your hands are clean. Don’t whip it up too much, we don’t want the baking soda reaction to start too early.
- Pour mix into pan
- Bake 325°F for ~45min
I won’t lend you my hand either.
Conclusion:
This stuff is really good. I made two batches in one week, and it disappears fast. The top tastes wonderful, and it is a staple in my dessert diet. :)
I hope things pan out…
Sunday, April 11, 2010
Chocolate and Peanut Butter Smoothie
Intro:
I realized I should probably put one of my things here, because this blog has the characteristic of coolness enough for me to participate in. And everyone else is putting up such awesome stuff that I need to join in.
I was perusing around in Jamba Juice while waiting for my Protein Berry Workout when I came across this recipe in one of the smoothie tomes that JJ has for sale. Using my spendthrift talents I took a picture of the recipe and got the ingredients to make it at home. I made it the same day Nik came over, and I'm pretty sure he thought it was good. My mind was occupied by the awesomely big bear hug he gave me. Yes, just think about that for a moment...
(I apologize in advance for the photos. I spilled water on my camera, and half the photos are messed up.)
| Two guys, two cups. Trust me. |
Prep:
Freeze two bananas the day before: peel them and put them into a ziplock bag in the freezer.
Make:
1/2 cup chocolate rice milk (I used soy)
1/2 cup soft silken tofu (I used firm, which Nik estimated into 1/2 cup)
1/2 cup creamy peanut butter
2 fresh bananas, frozen and sliced
2 tbsp. chocolate syrup
6-7 ice cubes
1) Combine the milk (first), tofu and peanut butter in a blender. Stir it a bit. This was actually pretty tough, but just get it mixed.
2) Slowly add bananas, chocolate syrup, and ice cubes.
3) Blend until smooth.
Seems easy, but the blending part can be quite tough/tricky. You have to shake the blender or push down the entire mix every now and then (do not do it while it is on!) so that the blades can reach an even mix. After a while of pureeing, it should fall into the traditional tornado shaped mixing motion inherent in proper liquid blending procedures.
Drink:
Drink.
Outro:
It comes out very thick, creamy, and luscious (sorry, I couldn't find any alternative yet satisfactory words to describe it). It is quite filling, and can serve up to 3 people. Talk about being a third wheel.
Schick Quattro:
The only thing I did not have on hand was the tofu. Next time I plan on adding a little bit more chocolate milk for ease of blending and greater throughput of a more liquid product. Have fun and don't burn out your blender!
Wednesday, April 7, 2010
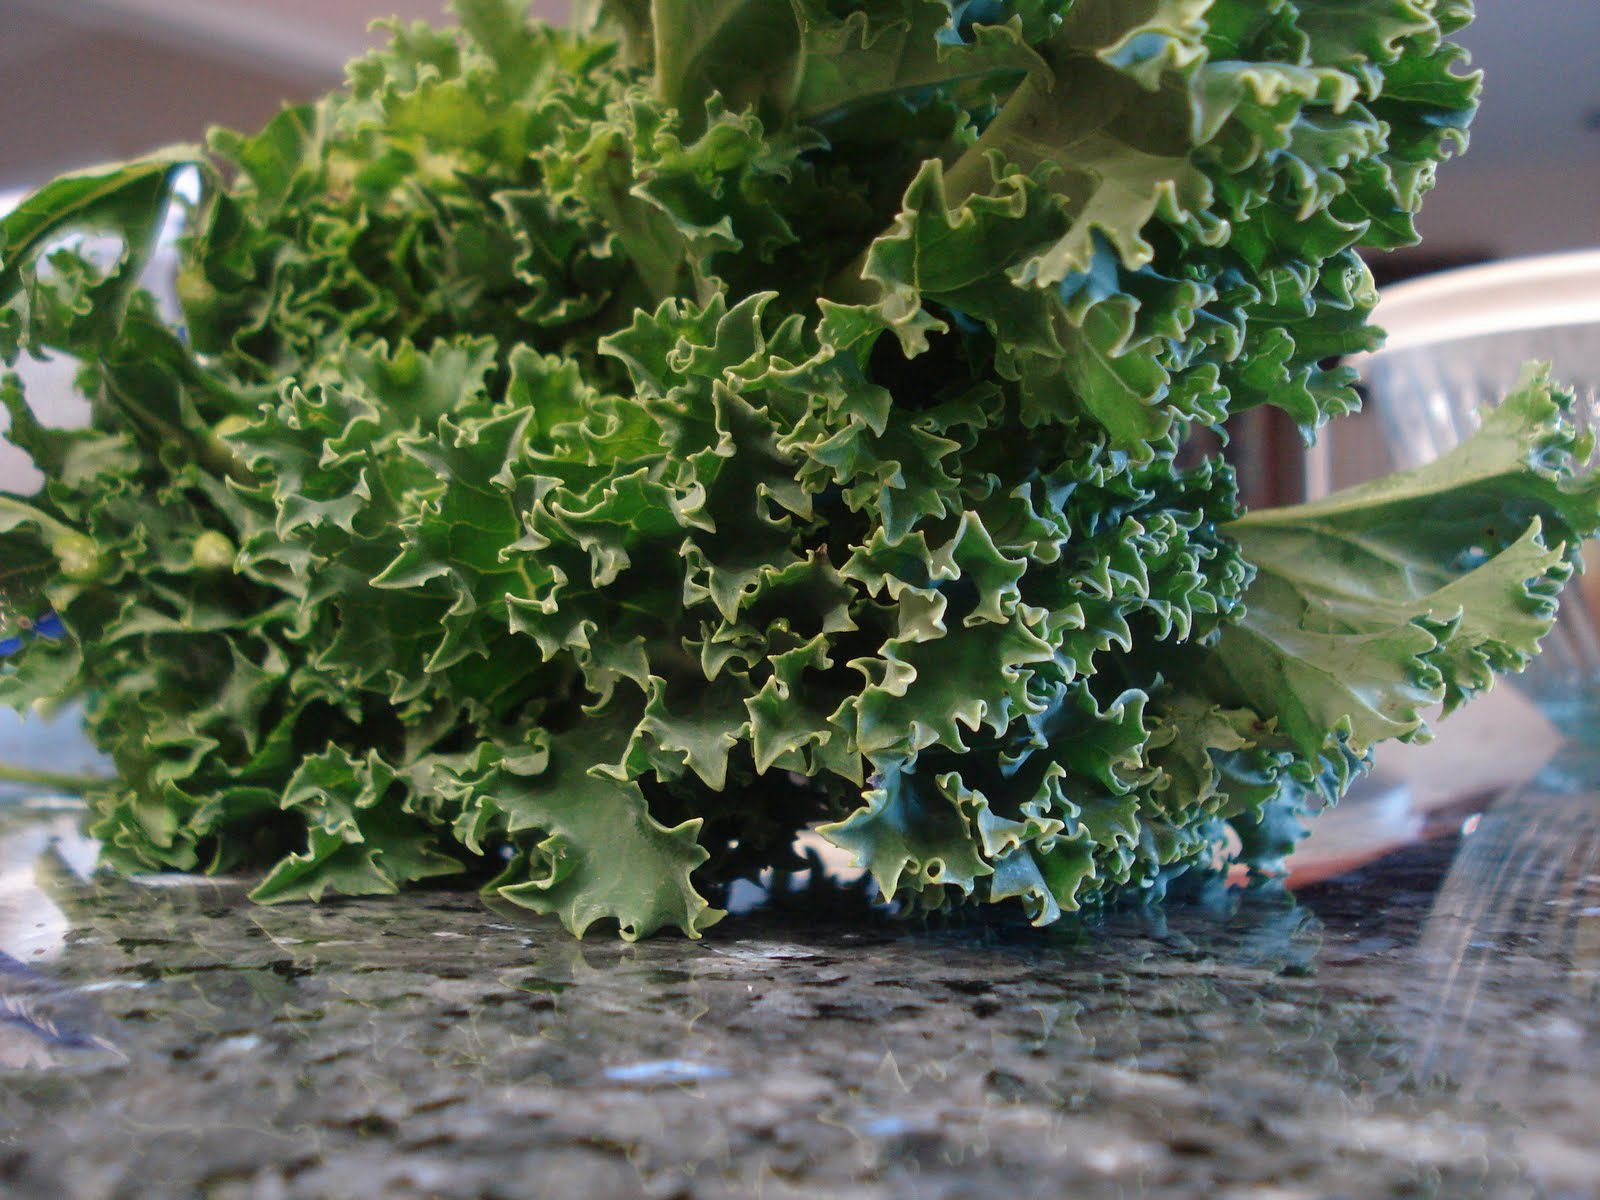
Kale Chips
Pineapple Fried Quinoa
Most of the dishes I cook come from a cycling of left-over ingredients. I buy stuff for one dish, and inevitably I have more of something than I need, like garlic, cilantro, eggs, or even something exotic like tahini. Then I'll search for recipes that use my left-over ingredients, I run out to grab a couple other things from the store, and after that meal I have new left-over ingredients. And on it goes. So this recipe came from a hunt for something that had both cilantro and chicken broth. Luckily, it also had quinoa, which has been quietly hanging out in my pantry since I cut back on my carb consumption. Thing is, I was supposed to use cilantro in my zucchini stir-fry salad on Monday, but I completely forgot to add it in. In any case, most recipes only use a tablespoon of the stuff at a time since it's so strongly flavored, and I didn't want a whole bunch wilting on my watch.- 1 cup quinoa
- 1 cup chicken broth
- 2 cup water
- 1 tbsp coconut oil
- 2 tbsp hot sauce or chili oil (If using hot sauce use something "runny" like Tabasco)
- 5, yes FIVE cloves of garlic, minced
- 1 bunch of green onion stalks, chopped
- 1 cup diced pineapple
- 1-2 tbsp chopped fresh cilantro (I eyeballed it)
Monday, April 5, 2010
Zucchini Stir-Fry Salad
- 1 1/2 tbsp sesame seeds
- 1/4 cup chicken broth
- 3 tbsp miso paste (I used red genmai miso)
- 2 tbsp soy sauce
- 1 tbsp rice vinegar
- 1 tbsp lime juice
- 1/2 tbsp hot sauce (ideally Thai chili but I only have Louisiana Red Rooster)
- 2 tsp brown sugar
- 2 shallots, chopped
- 1/4 cup cilantro, chopped
- 6 medium zucchini, julienned (cut in half, then twice lengthwise; I also diced them crosswise again to make them easier to eat)
- 2 sheets kombu (thick seaweed)
- 2 tbsp slivered almonds
- 2 packets Seabear ready-to-eat wild pink salmon
In a large bowl, combine the chopped veggies, salmon, miso paste, hot sauce, sesame seeds, cilantro, almonds, sugar and heated liquids. Mix until thoroughly chaotic, then refrigerate until serving time. It tastes good lukewarm, but it's much better cold.
Result: Boy, am I glad I gave this recipe another shot. The sauce is perfect, and the salmon adds to the flavor without being too fishy. I didn't know I was this good =]
Wednesday, March 31, 2010
Earl Grey Tea Cupcakes
As most of you know, I love tea, so when I saw this recipe I had to try it. Characteristically enough, it came to my attention during some quality facebook stalking, where someone I barely know (but still regularly spy on) posted their pictures of earl grey cupcakes, so I looked up a recipe. Most seem to be a general variation of this one: desert candy and so this is my attempt. I followed the recipe as listed, except that I only did half (ie, enough for one cupcake tray instead of two) and where the recipe calls for mixing the tea and and 1/2 flour and adding that, then adding the rest of the flour and milk, I instead added 1/2 flour, then milky-tea and the rest of the flour, but let me demonstrate...
I'll repeat the recipe for clarity, but as said, I followed the original:

1 cup (1/2 lb) unsalted butter, at room temperature
2 cups sugar
4 eggs
3 cups self-rising flour
1 cup milk
2 bags or 2 tablespoons earl grey tea i used loose leaf earl grey from Archer Farms

Preheat the oven to 350 F, fill 2 cupcake pans with paper liners or grease well. In a bowl (or with a stand mixer), beat the butter until creamy. Add the sugar and cream the butter with the sugar until it is light and fluffy.
Add the eggs one at a time, beating each egg very well so that it is thoroughly combined before adding the next egg. Beat in half of the flour along with the tea. Then add the milk and the remaining flour, stirring until just combined.
This was actually a bit tough, and so the picture was my best first attempt, but I think I got it right.
Here's where I made my main change. Instead of adding 1/2 flour + tea, I instead added the half flour, and then poured my loose leaf tea into the warmed-up milk and let that sit for a while. I got impatient and put it in the fridge for a few more minutes, and then added it with the second half of the flour while it was still fairly warm. This may have been a bad idea (the warm tea part)...

You can also see my mixed flour on the left. I didn't have self-rising flour, so instead used the following short cut to make my own from all-purpose flour:
1 cup self-rising flour = 1 cup flour + 1.5 teaspoon (tsp) baking powder + 0.5 tsp salt
After mixing, I poured the dough into the cupcake pan, and it was super lightweight! It really surprised me. After baking about 20-25 minutes, I took them out. They hadn't risen very well, which I think may have been because I poured in the still-warm milk, and they were a bit difficult to get out of the pan, but they were delicious! I'd even say maybe a bit too sweet, and next time I'll definitely cut down a bit on the sugar, and probably making mini cupcakes instead.
Lastly, for the topping:
Lemon Buttercream
1 cup (1/2 lb, 2 sticks) unsalted butter
1 lb (4 cups) powdered sugar
zest of 1 lemon
3 tablespoons limoncello or lemon juice
1. Cream the butter until smooth, gradually beat in the powdered sugar until the mixture is very fluffy. Zest the lemon over the bowl into the frosting, add the lemon or limoncello, stir until smooth. Spread or pipe the frosting on cooled cupcakes. Please remember buttercream should be served at room temp.
This was super easy, and again I halved the amounts, which was good because I was still slightly short on powdered sugar. Also I skipped the lemon zest and didn't miss it. This is also super sweet in the end, but still good. If I can get the cupcakes to be a bit less sweet, I might skip the topping next time all together.

Conclusions:
-using loose leaf tea is not a problem, actually looks very attractive and tastes fine
-buttercream is delicious
Things to change:
-might want to make it a bit less sweet, may reduce sugar amount
-need to test between following the recipe or mixing the tea+milk but making sure to let it cool down entirely
-if I keep them this sweet, I'd likely switch to making mini cupcakes so its a more bite-size snack
I ate a few and brought the rest to a game-night with some friends and everyone enjoyed them! I'll definitely be making them again soon!
Monday, March 29, 2010
Nut Meringues

Sunday, March 28, 2010
Inauguration!
The last couple of days I've been struck with inspiration with regard to my experimentation in the kitchen. That might have something to do with the fact that I had a final exam this morning (yes, I know it's Sunday) and that I have a major presentation on Tuesday night; it's just speculation at this point. Last night I took a peek in my fridge and realized that I had a leftover green bell pepper that was rapidly ripening and a half-can of garbanzo beans that was probably nearing the end of its rope as well. So I plugged those two into allrecipes.com and came across something for garbanzo bean soup. Fantastic. Although the recipe for that didn't sound all too appetizing, since it involved blending my cherished beans into some kind of mush and then watering it down. I instead opted to boil everything directly, added a spoonful of garbanzo flour and reduced it down to a thick curry. Turns out I was on to something.
- 1 green bell pepper, diced
- 1 clove garlic, minced
- 1/2 can garbanzo beans
- 1 tsp garbanzo/chickpea flour (Two names for the same bean)
- 1 tbsp tahini (sesame paste)
- 1/2 tsp dijon mustard (I used Sierra Nevada Stout mustard)
- 3/4 c. chicken broth (You can use water to make it veggie; I do it this way so I don't have to worry about salt)
Throw everything into a medium saucepan. It should look pretty soupy and milky at this point (see above). One word though, when you add the tahini, resist the urge to lick the spoon afterwards. It tastes like really bitter peanut butter, but sticks more.
Cook over medium heat for about 10-12 minutes, until it has the consistency of a curry. You'll know this by when you can push it against one side of the pot and it stays there for any measurable amount of time. Stir every 2-3 minutes to keep from scorching any flour that's stuck on the bottom.
And there you have it. Garbanzo curry.
Oh well. So much for artistry. I eventually had to shove all the egg back on top to keep it from overcooking, resulting in the glorious platter you saw at the beginning of this post.
So, just to recap:
- 1 salmon patty
- 2-3 tbsp olive oil
- 1 large egg
Hope you enjoy it as much as I did.